|
After
Mr. Sims had demonstrated the making of a Heather Broom he then began to make a
birch besom. He said that birch must be cut before the leaves sprout, it can be
used immediately or at a later date as long as it is kept dry. He began by
making the bond which can be a piece of birch or willow. He chose a six feet
length of birch and with a knife removed all the knots, he then twisted the twig
beginning at the top and working to the bottom of the stem, removing the soft
bark as he worked. The twisting makes the bond stronger and removing the knots
prevents the craftsman cutting his hands while working with the bond.
From
a bundle of birch Mr. Sims picked the twigs for the head,
keeping the bottoms of the twigs left at his left side. The
birch head is made in one piece and as he picked the twigs
he worked them round in his lap until he had the correct
sized head. He sharpened the bottom of the bond and threaded
it into the head-butt as for the heather besom, only
towards him and not away from himself. As he wound it round
the butt he twisted it continually. It was pulled tight by
standing on the broom head and pulling the loose end of the
bond with pliers. The completed head was then put to one
side ready for the handles to be fitted.
The
handles were made from birch approximately 1 ¼” in
diameter and 40” long. Mr. Sims cut two lengths, trimmed
on end of each to a point, neatened the top ends and removed
the knots with a chopper. When he laid the two handles side
by side the lengths were exactly the same although he had
done no measuring. The bundles of completed besoms were
examined and were all of identical lengths. This showed the
mark of an experienced craftsman.
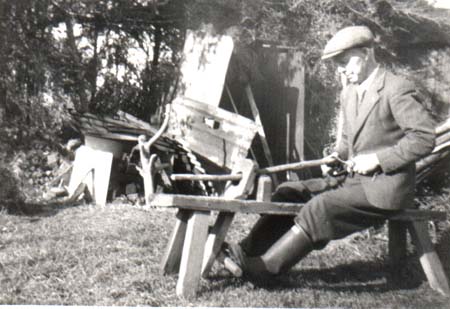
The
handles then had to be peeled and I discovered that the
bench seat had a dual purpose. It Has a "horse"
and held the handles in a secure position for peeling. Mr
Sims sat astride the horse, threaded the handle through a
wooden support and rested it on a wooden block covered with
leather attached to the top of the horse.
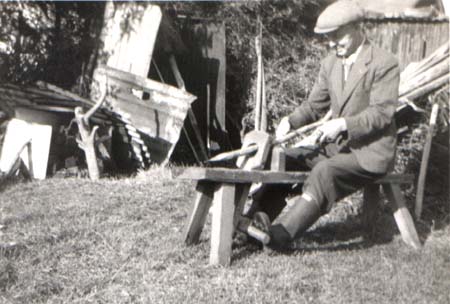
Across
the bass of the wooden support was a pole, against which he
pushed with both feet, so clamping the handle in a firm
position. Then the handle was then secured and ready to be
peeled and could be revolved as he stripped the bark towards
him. The "peeler" or "shave hook" is an
old reap hook especially bent by a blacksmith to fit round
the handles. The point was bound with leather, as was the
handle end, the handle having been removed.
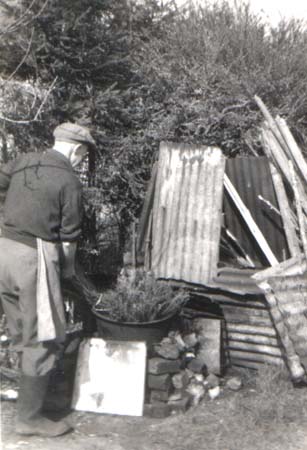
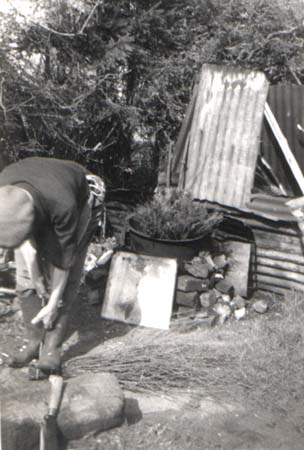
The
besom heads were then taken outside and the butt ends soaked
in boiling water in an old iron boiler supported by bricks
with a fire underneath.

The
first bond was then tightened and a second bond made
approximately 3” from the butt end and pulled tight. The
wire bond was bent over and cut, the birch bond was threaded
through and the end threaded down into the twigs of the
head. The head was trimmed again at both ends and the point
of the handle hammered into the centre of the butt end with
a wooden mallet. As the butt dries it tightens round the
handle.
The
final stage was inserting the peg, and as in days gone by he
hammered a wooden peg in to the drilled hole in the birch
broom handle as this besom was to be mine. These besoms were
so well made that I am quite sure that the handles will
never work loose.
Copyright © P Reeks.
|